
Georeferencing
The one step everything else depends on, and how to check you got it right.
Georeferencing is the link between real-world coordinates and the pixels of the map image. Without it a GPS track cannot be drawn at all; with it slightly wrong, everything is drawn and everything is wrong: legs split at the wrong moment, deviations measured against the wrong line, mistakes placed where they did not happen.
It is the highest-consequence, lowest-visibility step in the whole upload. That is why the wizard makes you look at it.
What is actually stored
A six-parameter affine transform: translation, scale and rotation between a projected coordinate system and image pixels.
x_pixel = a * X + b * Y + c
y_pixel = d * X + e * Y + f
Latitude and longitude are projected to a flat coordinate system first. Applying an affine transform directly to spherical degrees distorts, and the distortion grows with latitude, which for Nordic orienteering is exactly the wrong direction to be relaxed about.
An affine transform cannot correct for a map that is stretched non-uniformly or warped by scanning. If your source is a photograph of a paper map, expect to fight it; a clean scan or a digital export is worth the effort of finding.
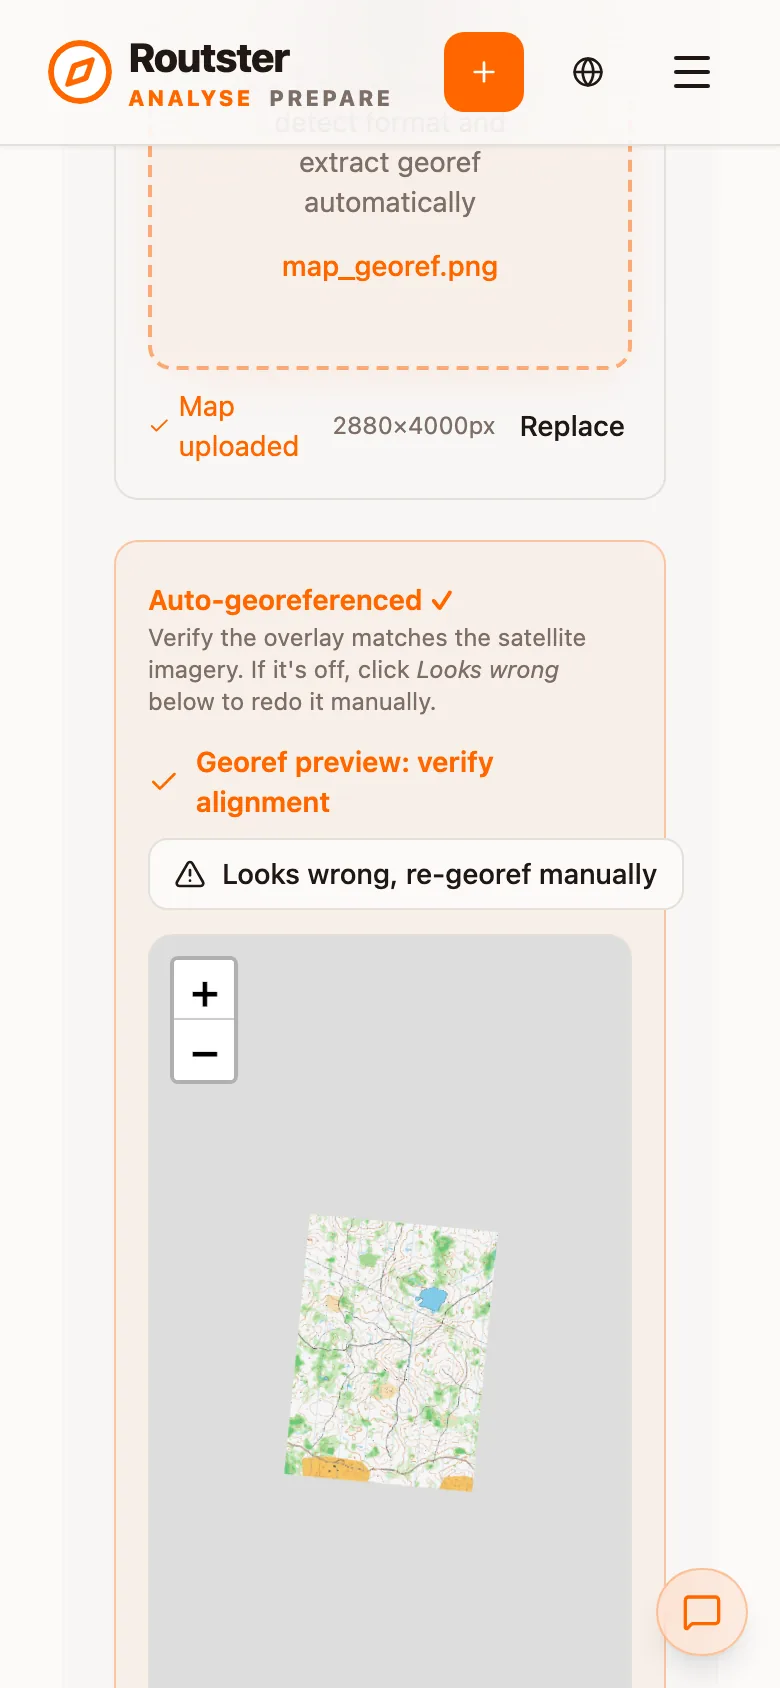
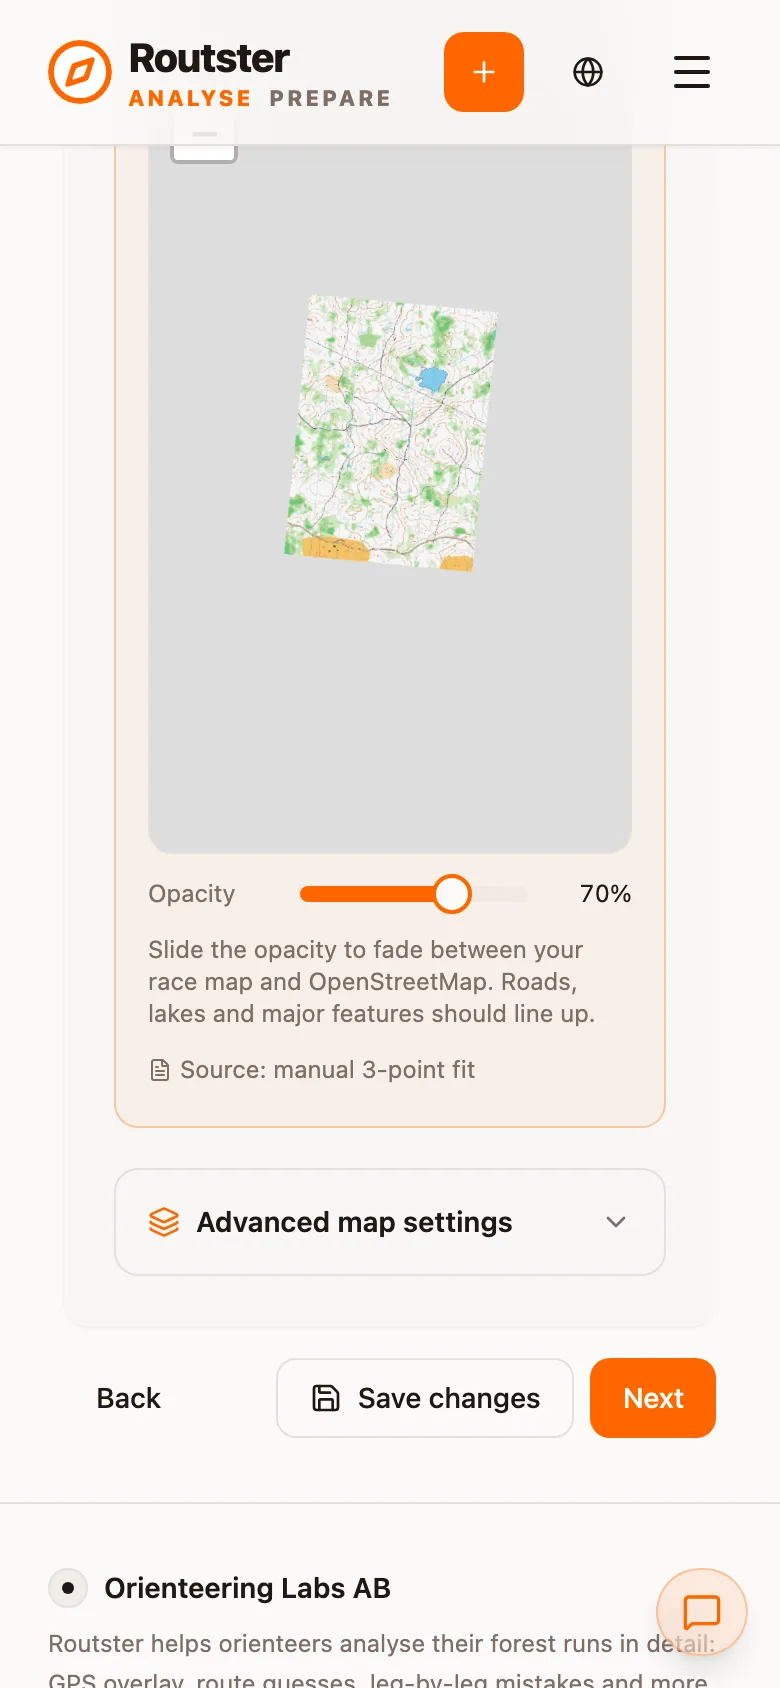
Three ways to get one
| Method | How | Accuracy |
|---|---|---|
| OCAD anchoring | Upload the .ocd file. Its own georeferencing metadata is read and the transform is built automatically, when the file's coordinate system is one we recognise. | Best, and free |
| World file | Drop a .wld, .jgw, .pgw or .tfw beside the image. Six numbers, parsed directly. A .prj alongside it identifies the projection. | Exact, if the file is right |
| Manual control points | Click the same feature on the map and on satellite imagery, three or four times. | Good, with care (see below) |
Upload the OCAD file if you have one. It is the only route that gives you the georeference for nothing, and it also gives you a clean 300 DPI render rather than whatever somebody exported.
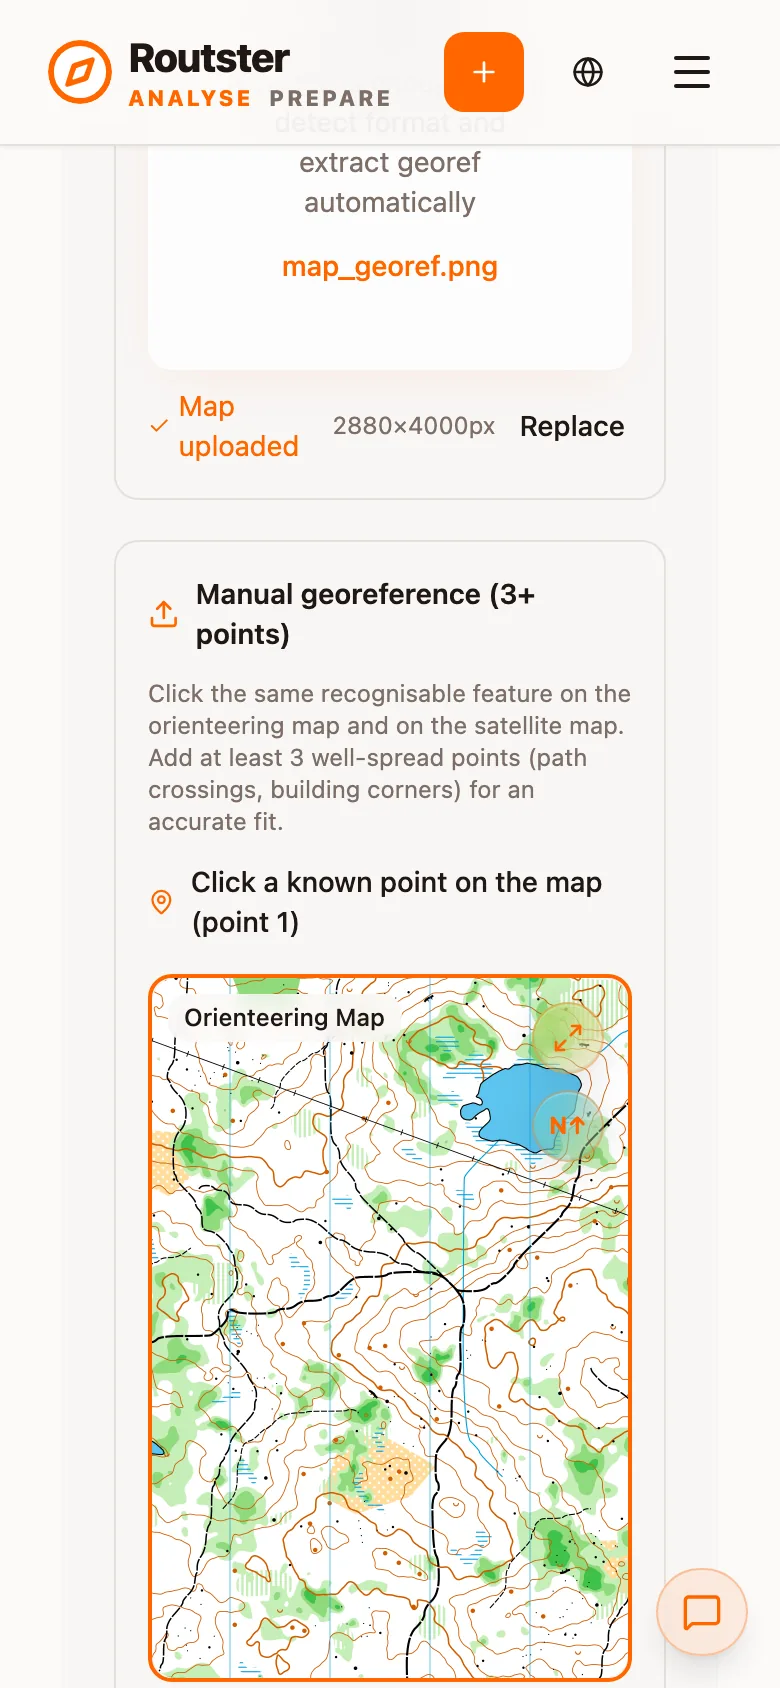
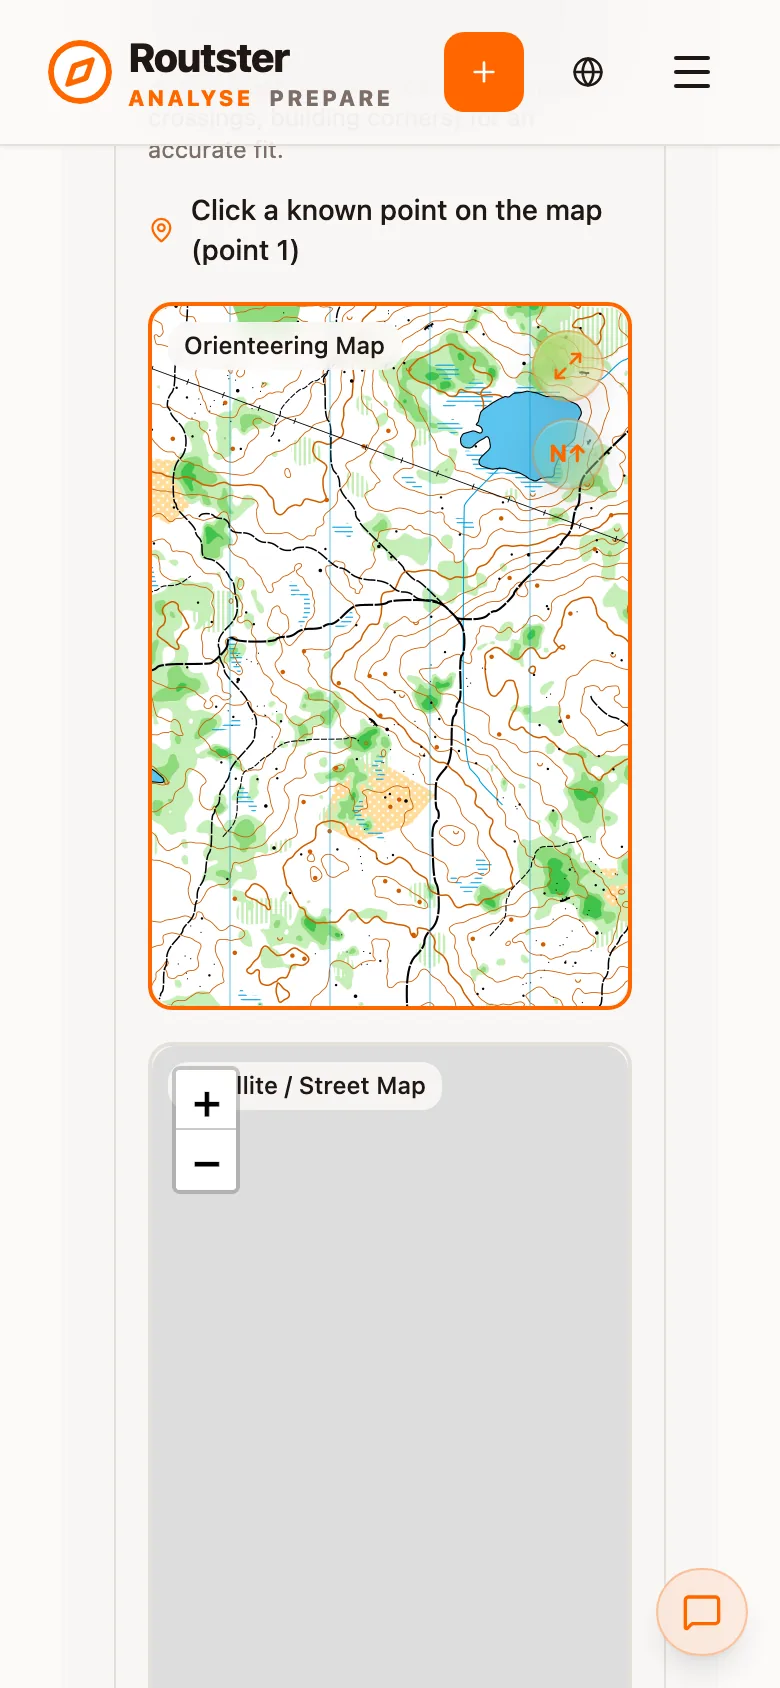
The satellite pane is blank in these pictures
Doing it by hand well
- Spread the points to the corners. Four points clustered in the middle leave the rotation and scale poorly determined, and the error grows towards the edges, which is where the far controls are.
- Pick features that cannot move. Path junctions, building corners, the end of a distinct fence. Not a tree, not a boulder you are not sure is the boulder, not the middle of a clearing.
- Use four rather than three. Three is the minimum and gives you no way to notice a bad one; the fourth is what makes an error visible.
Checking it
Look at the overlay before you publish
Extra layers get the same treatment, and can be previewed against the primary map instead of satellite imagery, which is easier to judge when the terrain has no roads in it.
While the render is running
Uploading an OCAD file starts a server-side render that takes a few minutes. You do not have to wait: a browser-rendered preview appears immediately, and it carries a real georeference fitted from the file's own anchoring. Courses placed against the preview and layers aligned to it stay correct when the finished render replaces it.
What is provisional is the image, not the alignment. Advance the wizard on the preview; do not publish on it.
If the georeference is wrong after publishing
Reopen the event and fix it. Runs already uploaded are re-aligned against the corrected transform when they are next opened. The tracks are stored as coordinates, not as pixels, so nothing has to be re-uploaded. Any AI review generated against the old alignment is worth regenerating, since its numbers came from the bad one.
For tile groups, correcting the anchor tile propagates to every tile aligned against it. See Layers, tiles and presentation maps.