
Quick start
One account gets you into both products. Here is the shortest path into each.
Create your account once
Step 1. Sign up on either Routster site
Step 2. Set your name and picture
Step 3. Join your club
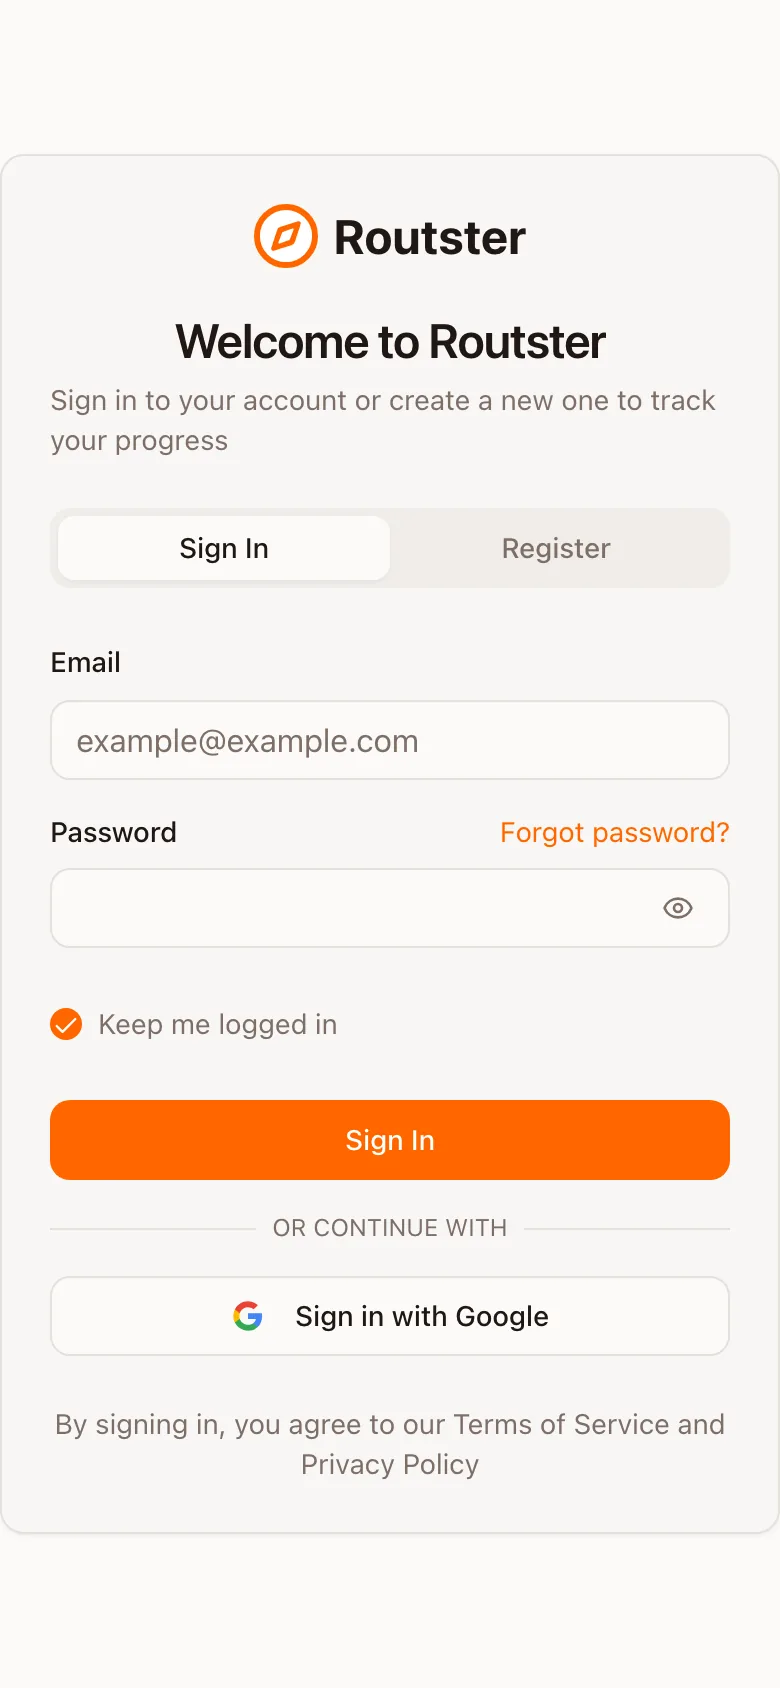
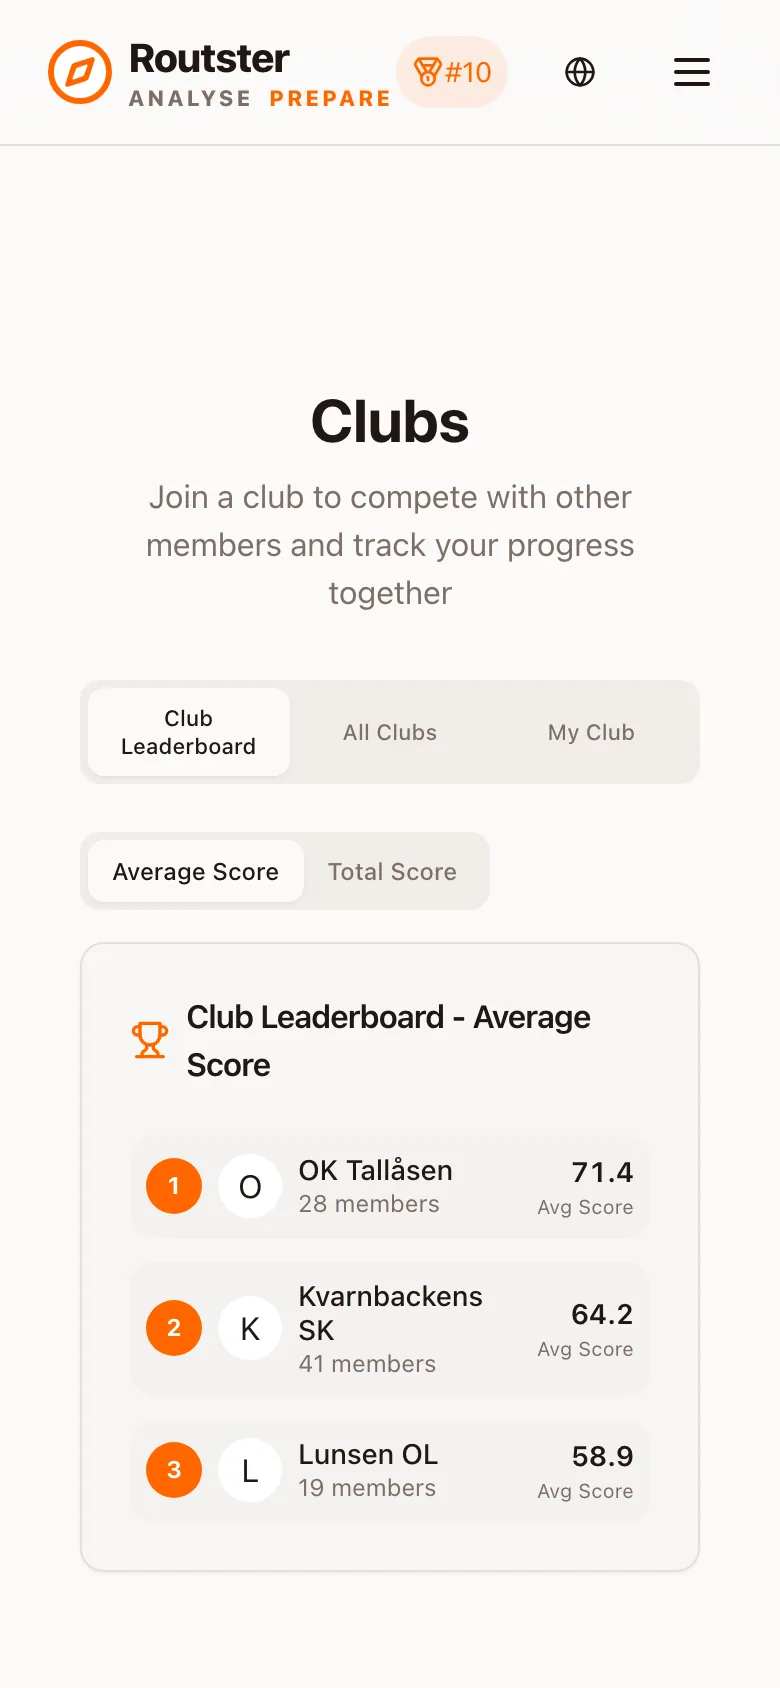
Signing in carries across subdomains
.routster.se, so signing in on one subdomain signs you in on the other. The handoff happens on page load, so reload once if a product shows you as signed out.Your first hour in Prepare
Open the Route game, pick All Maps or a single map, and start answering. You are shown a map crop with two to four drawn routes between the same pair of controls, and you pick the shortest one. The first three are a warm-up and are not recorded; after that every answer counts.
- Fast mode shows the route lengths and whether you were right, then moves on by itself.
- Analysis mode holds the map so you can zoom in and see why the route you rejected was shorter.
- Attempts count toward the global leaderboard only with All Maps selected and the filters untouched. Until then the game says Unranked above the challenge.
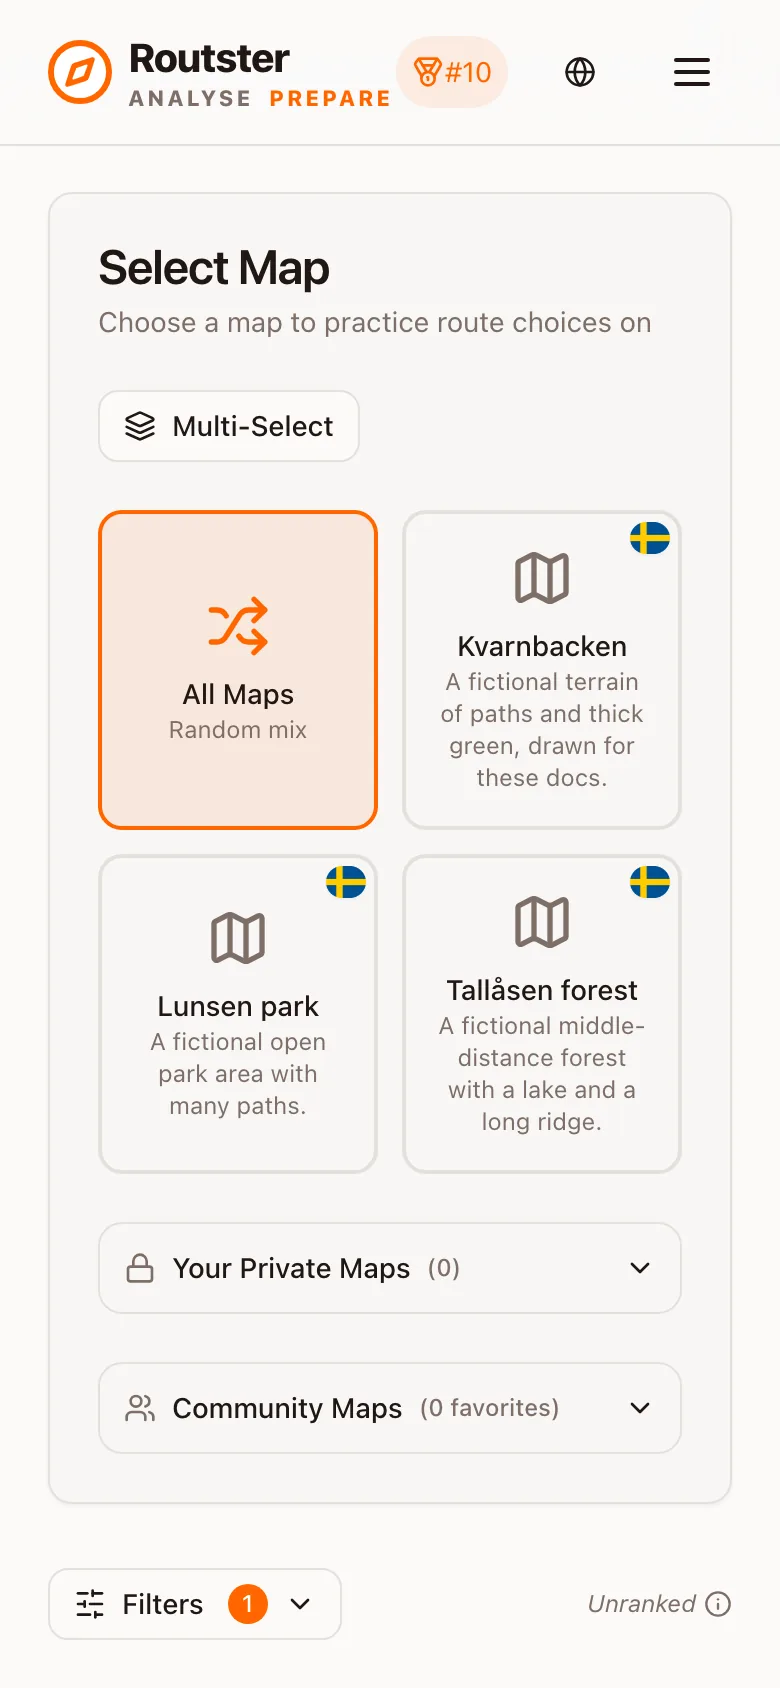
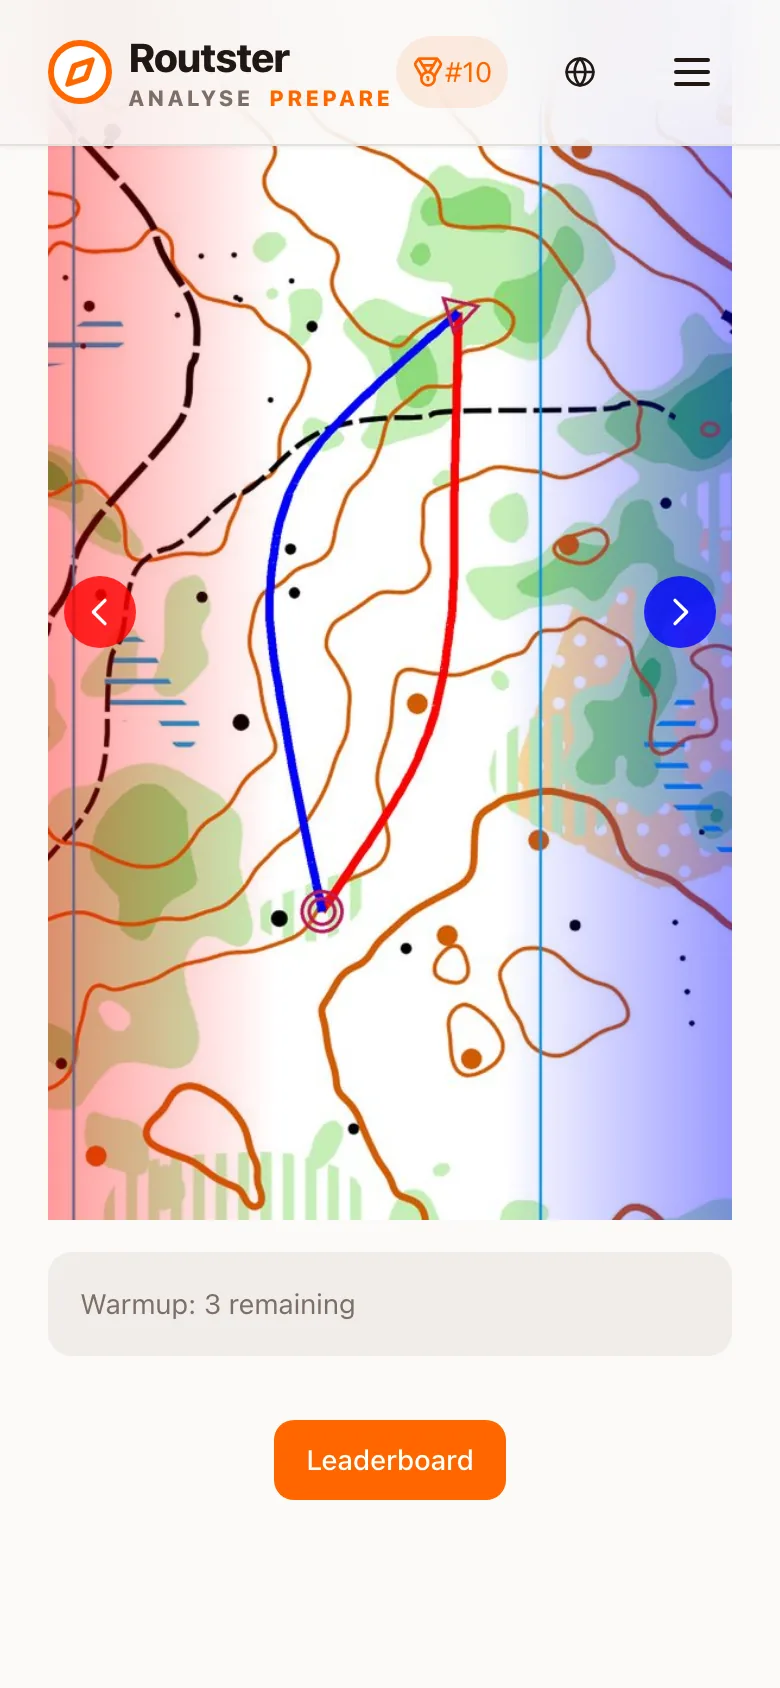
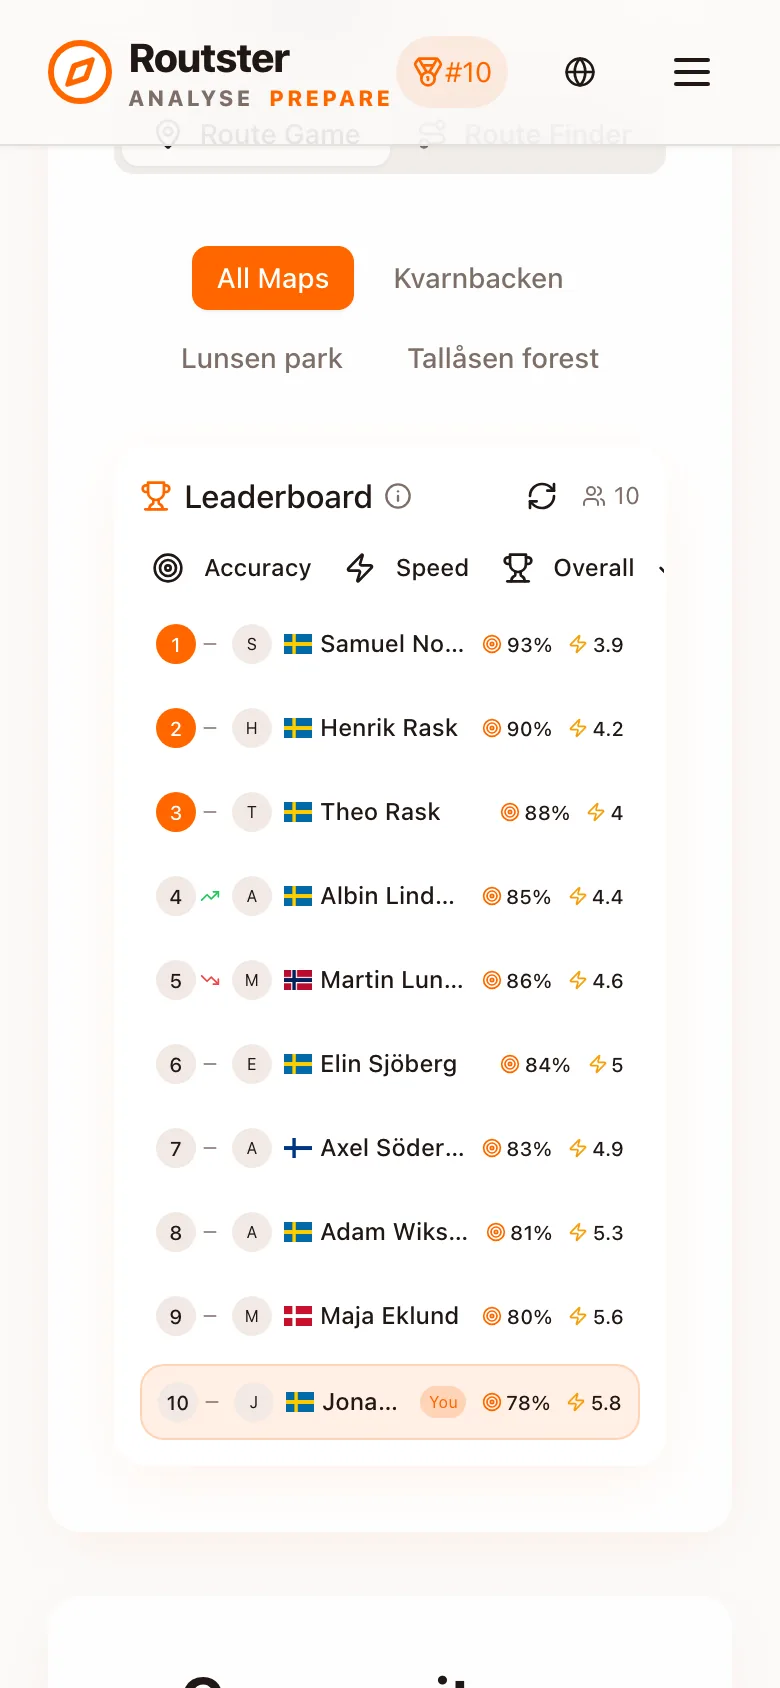
The route choice game covers the screen in detail, and How scoring works covers what the rank is built from.
Your first analysis in Analyse
Analyse has no standalone upload: every analysis belongs to an event. So either an organiser publishes the event you ran and you add your track to it, or you create the event yourself. A training run counts too: it is just an event with the level set to training.
- Open the event and tap Add my run.
- Pick your class.
- Add the track: upload a GPX file, or import from Intervals.icu or a connected watch service.
- Pick the privacy for the run. This decides whether other runners can open your analysis. See Run privacy.
- Open the analysis. The map, the course and the field comparison are already there.
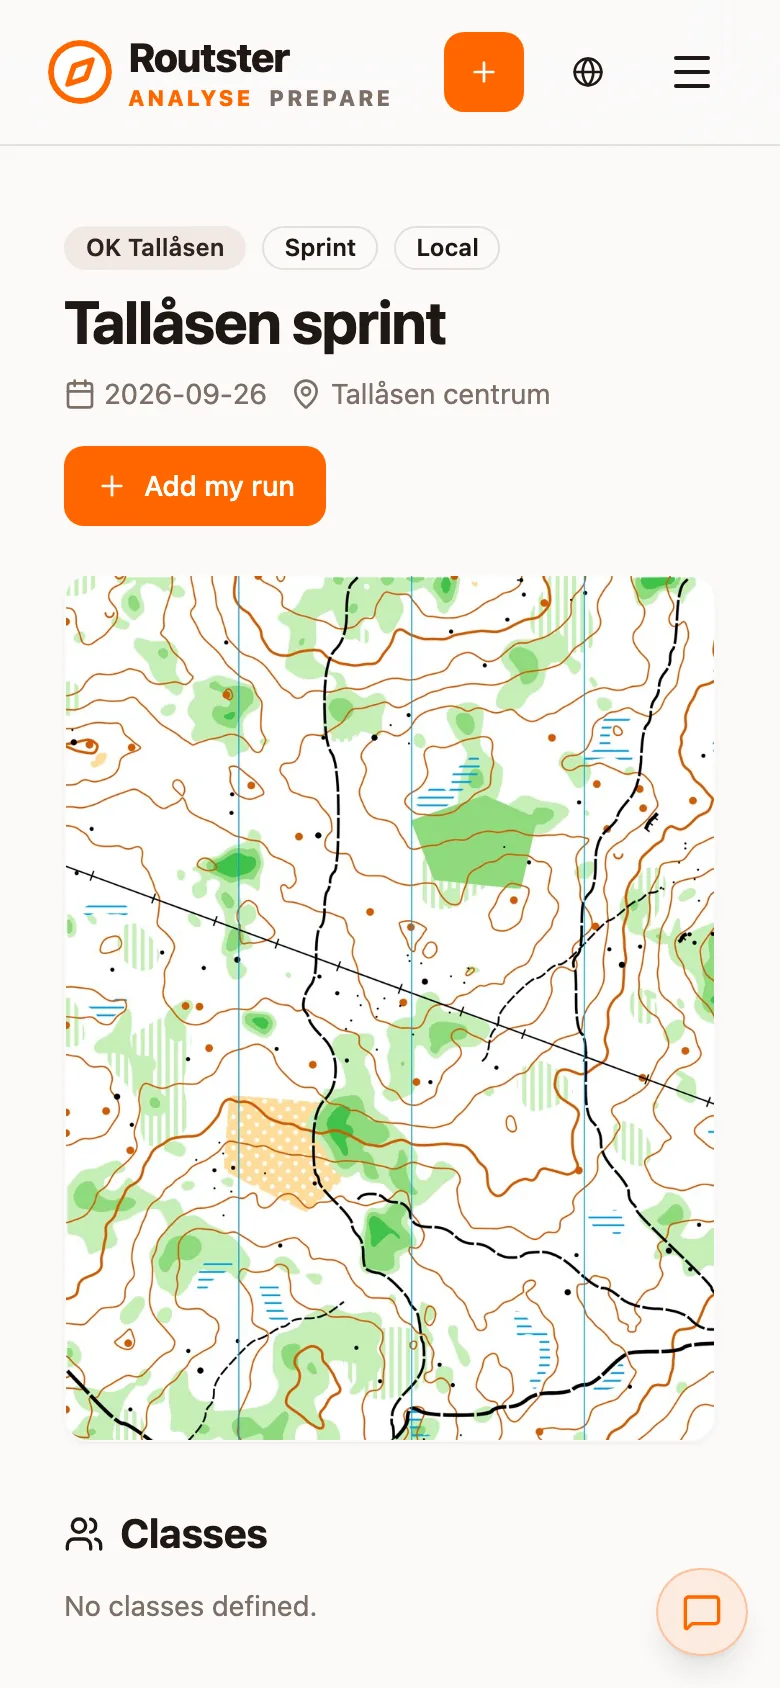
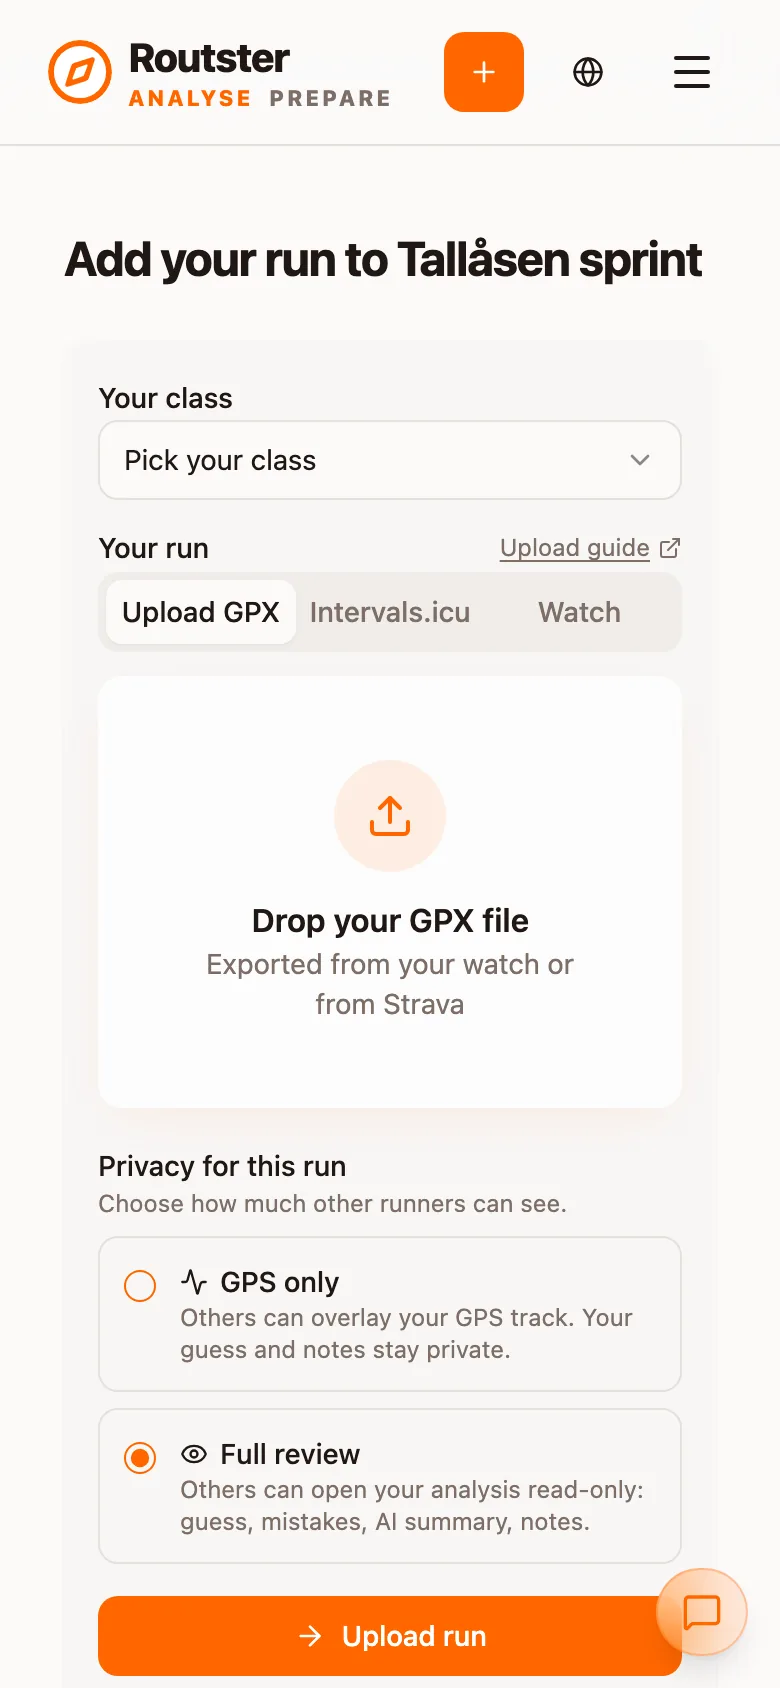
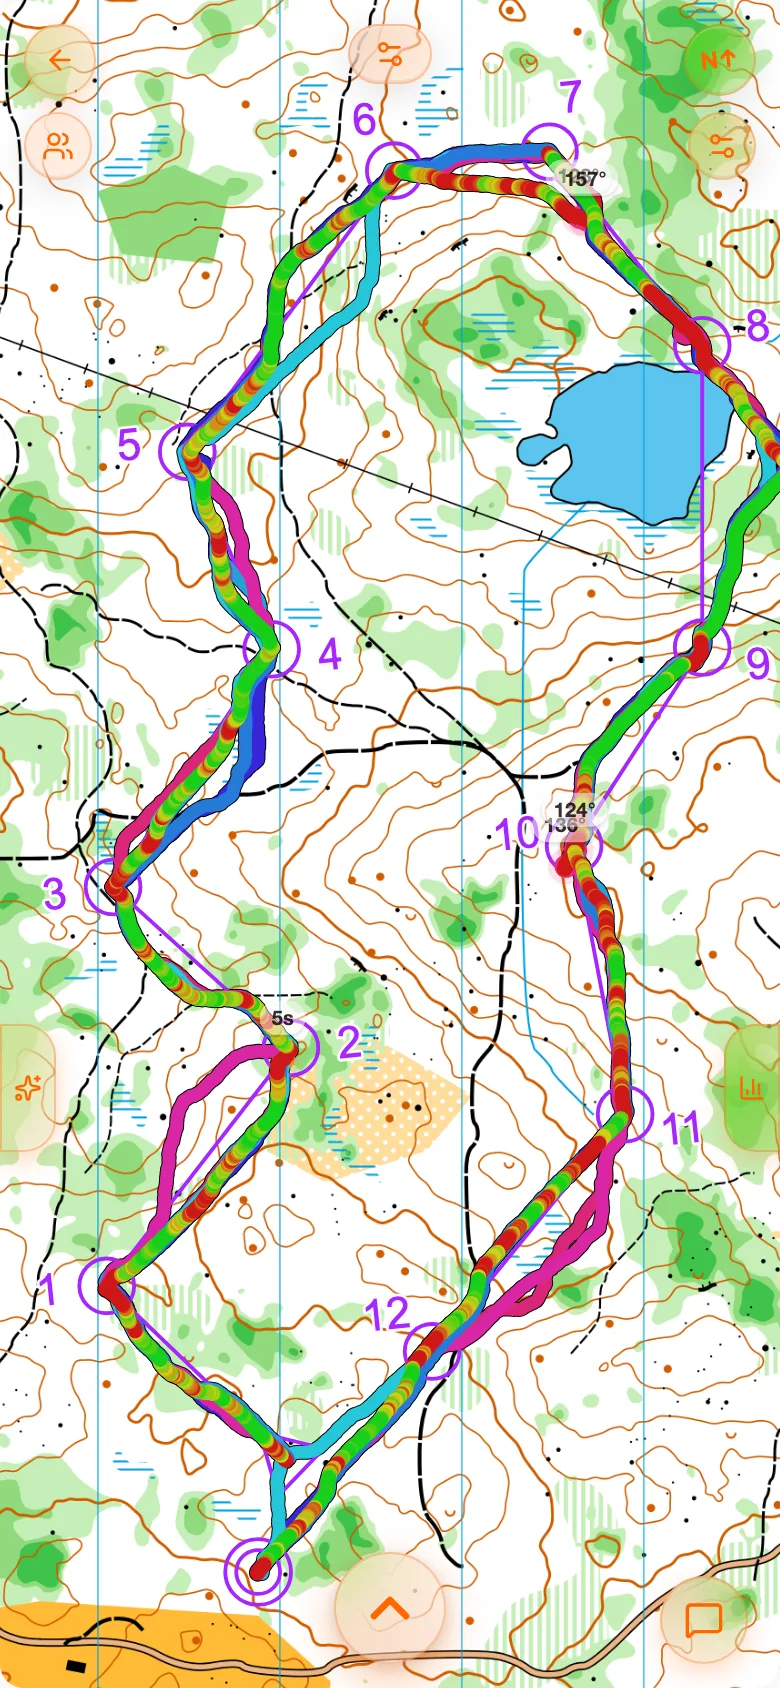
Organisers should read Uploading an event first, for the two timing rules: when the map unlocks, and when the results file goes up.